
Introduction: Have you ever tapped a button in an app and noticed it bounce slightly? Or swiped a card and watched it slide smoothly off the screen? These small details make an app feel premium and fun to use. In SwiftUI, creating animations is incredibly easy. Let's learn how to animate your app using simple concepts.
The Analogy: The Magic Flipbook
Imagine a **flipbook**—a notepad where each page has a drawing of a stickman in a slightly different position. When you flip the pages quickly with your thumb, the stickman looks like he is running. To make this flipbook, you have to draw fifty different pages. That is how old app animations used to work.
In SwiftUI, you have a magic assistant. You only need to draw **two pages**:
- Page A (State 1): The button is small (normal size).
- Page B (State 2): The button is big (tapped size).
You tell SwiftUI: 'Please animate between Page A and Page B.' SwiftUI instantly draws all forty-eight pages in the middle for you! This is called State-Driven Animation.
The Two Ways to Animate in SwiftUI
SwiftUI gives you two main methods to make elements move. Both are simple to write.
Method 1: Implicit Animations (The '.animation' modifier)
You attach the .animation() modifier directly to a view. You are telling it: 'If this specific variable changes, animate it automatically!'
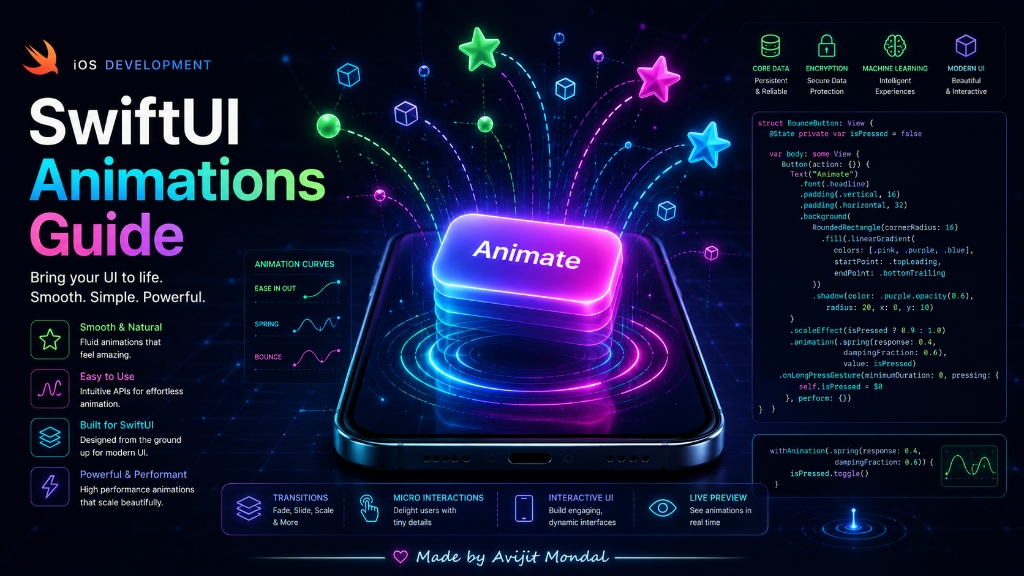
struct BounceButton: View {
    // 1. Keep track of whether the button is tapped
    @State private var isTapped = false

    var body: some View {
        Button("Tap Me") {
            isTapped.toggle()
        }
        .font(.title)
        .padding()
        .background(Color.blue)
        .foregroundColor(.white)
        .cornerRadius(10)
        // 2. Change size based on the tap state
        .scaleEffect(isTapped ? 1.3 : 1.0)
        // 3. Tell SwiftUI to animate this change smoothly
        .animation(.spring(), value: isTapped)
    }
}
Method 2: Explicit Animations ('withAnimation')
You wrap the variable change inside a withAnimation block. This is useful when you want to animate multiple views at the same time.
struct CardView: View {
    @State private var showDetails = false

    var body: some View {
        VStack {
            Button("Show Info") {
                // Tell SwiftUI: animate everything that changes here
                withAnimation(.easeInOut(duration: 0.5)) {
                    showDetails.toggle()
                }
            }

            if showDetails {
                Text("Here is the secret recipe!")
                    .font(.body)
                    .padding()
            }
        }
    }
}
Choosing the Animation Curve
An animation curve controls the **speed** of the animation over time. Different curves give different feelings to your app:
| Animation Type | How it moves | Best used for |
|---|---|---|
| .linear | Constant speed from start to end. | Spinning loading wheels, background clouds. |
| .easeIn | Starts slow, speeds up at the end. | Items falling or moving off the screen. |
| .easeOut | Starts fast, slows down at the end. | Alert boxes sliding in (feels sudden but landing is soft). |
| .easeInOut | Starts slow, speeds up, slows down at end. | General fades, moving cards, organic sliding. |
| .spring() | Bounces past the end point and settles. | Buttons, checkboxes, micro-interactions (premium feel). |
.spring() for buttons. It makes the button feel bouncy and responsive, like a real physical button in the real world!Summary
SwiftUI animations are built on top of state. By using the .animation(_:value:) modifier or wrapping actions in withAnimation, you can animate changes in size, rotation, color, or positions instantly. Use spring animations to make buttons bouncy, and ease-out curves for entry alerts to build a premium user experience!